Showing posts with label pictures. Show all posts

Tuesday, April 9, 2013

Gardens, Cows, and Wine. What a weekend!

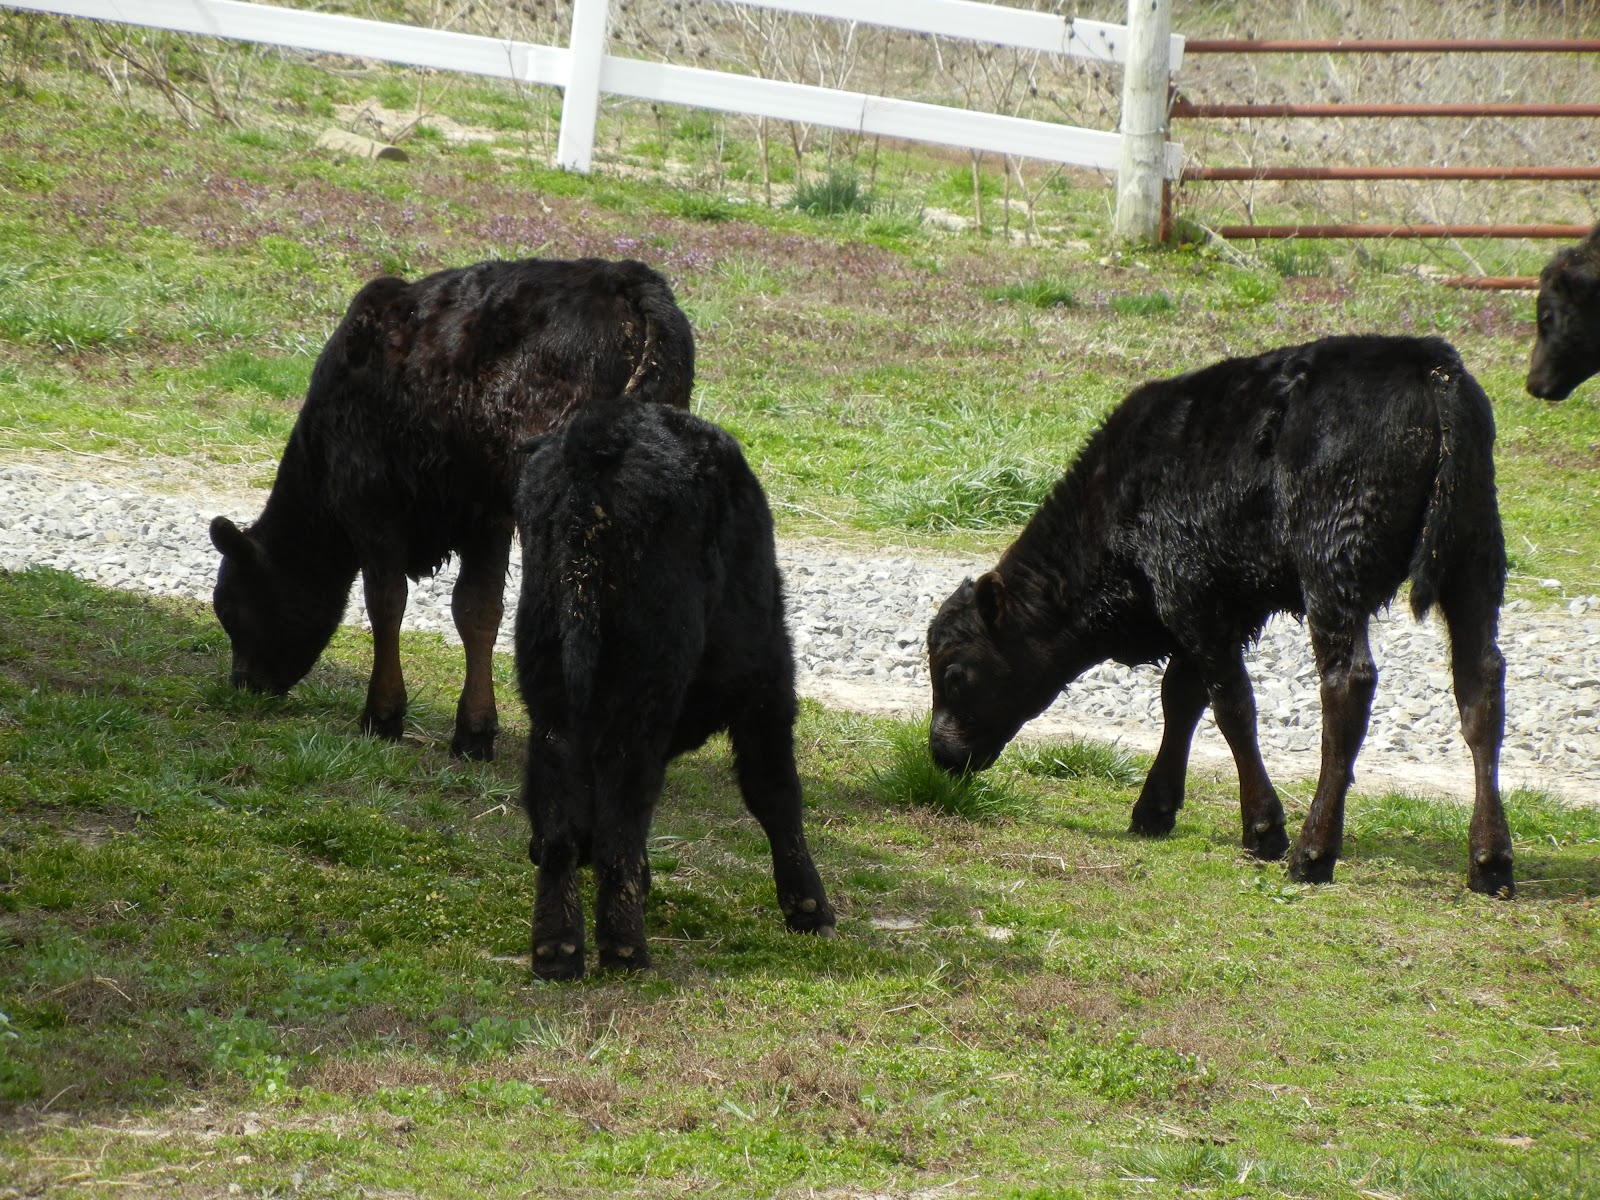
Are you ready for gratuitous cow pictures? I sure as heck hope you are because I have them ready to go.


I had a ball out with some friends on Friday and had to drag myself up to work in the garden on what has to be one of the most beautiful days to date this year. It was pretty enough that the not sleeping was definitely worth it! I let the cows loose in the yard over the weekend while I was out tilling my garden and could keep an eye on them, and boy were they happy. Until it all went wrong and I had to put them back out on their pasture. They are a little pissed now that they are contained in their pasture again, but someone ate some of mom’s butterfly bush. And her lovage. And a couple bites of day lily. And they destroyed a few herb garden markers. I think you get the point. They are heathens. Bad, bad cows.

My friends at Two Amigos in Sonoma, CA heard of my gardening adventure and asked me to take a couple shots for their Facebook page as well. If you are ever in Sonoma check them out! Their wine is phenomenal, and they are great people!

I started out my adventure in photography strong. Picturesque, right?


Then Brisket was like, "Whatcha doin'? Can I eat that?"


And, I was like, "Oh hey, Brisket! How's it goin'?"


And then I was like, "I have such pretty cows."


And then I realized that I had a purpose.
"Dammit! The wine, Lauren! Focus! Don't let yourself be distracted!"

Also, prepare yourselves because we have two newborn calves. I’m sure I won’t be able to keep myself from more cow photos. They are so darn cute!

Wednesday, April 3, 2013

So, I made a tiller.

And on Tuesday I looked down at my planned garden and said, “Damn. I don’t want to hoe that.” So, I made a tiller.


I said, I need something to break up the dirt, destroy all the weeds, push past the rocks and the buried walnut shells, take a beating and work it all again and again until the ground is perfect. So, I made a tiller.


I need a tool that will help me out as I try to garden. Reliable enough that I know it is going to work when I need it to, but low maintenance enough that I am not going to have to fiddle with it when I want to use it. Something strong enough to bust through roots and rocks and run for hours on end in crappy conditions until the job is through. So, I made a tiller.


I said, “I need a partner that can have my back and work the clay, loam, and sand with equal ferocity. That can push through compost and spread it through the soil for all those roots to find. To be there for me in evenings and on weekends after I finish my forty hour work week and actually start my work.” So, I made a tiller.


If you don’t get the reference, check out this commercial.

And yes, yesterday I did assemble my tiller. I am not remotely mechanically inclined so I am ridiculously proud of myself. I even assembled it all with the tools that live in the back of the four wheeler, because I’m awesome at farm stuff. Or it was just that easy to assemble. Whatever. It is held together with wing nuts, but I loaded it with gearbox lube all by myself and everything! I feel so bad ass!

Or, at least I felt bad ass until I noticed that the damn cord wrap was in the wrong spot.
So, I made a tiller!

Tuesday, April 2, 2013

Barnyard Tales Chapter 5. Automatic Truck Wash

Everyone has an enemy. At age 15 mine was an enemy of the most vile sort, an ex friend. We had played together as children. We had ridden horses all over the combined acreage of our families and beyond. She taught me how to ramp four wheelers and do donuts. We nearly died together multiple times. She taught me how to drive.

Alright, so her teaching me how to drive actually involved her coming over to my house and persuading me to take out the truck destined to be mine into the front pasture for lessons while it was loaded up with five hundred pounds of wooden posts and the ground was wet. It ended poorly, go freaking figure, but it was educational! I learned that you can’t really rock a five speed, burned clutch smells AMAZING, and believe it or not cat food does not give traction to F250s. I know. I know. Mind blowing, right?

I also learned that my parents have the world’s best senses of humor in the history of life. They got home and noticed the truck was missing. Panicked. They saw it in the pasture and my then friend and I came flying across the expanse on her four wheeler, arguing and bawling, as I told her that I was not going to lie to them and tell them someone tried to steal the truck. Then they started laughing their asses off.

I’m pretty sure that if I had normal parents I would be dead. If my poor four wheeler driving skills had not ripped the down spouts off the barn with the manure spreader, maybe anyone else would have thought it was funny; but I doubt it. I’m trouble. Trouble. Trouble. Trouble.

Actually, I was a pretty straight-laced kid which is why my then friend and I split up. I wanted to stay home and read. She wanted to go out and drink. It led to some quarrels as you can imagine. Then things escalated. We would come home to find the horses loose. Gates pushed inward so it was obvious the animals did not unchain them themselves. There were flip flop prints! Trees were mysteriously cut down across the driveway. Mischief was everywhere. It ran rampant. We had to bicycle lock the paddocks closed after one particularly bad fight amongst the stallions. But the crowning glory was that poor old truck.

To this day there is some debate about what really happened, but I am telling you the tale as I believe it. Mostly because if I am wrong then I caused even more property damage and should probably be an indentured servant right now.

The old grey F250 was the farm truck. Earlier that day I had loaded it up and taken the trash back to the holler for disposal. I parked it in its place of honor beside the granary as I always did, which is to say in neutral with the parking brake on. (Appropriate parking was not included in my lessons. Give me a break!) I thought nothing of it. It was the same scenario that had played out a thousand times before. I left the truck and went over to a friend’s house until after dark.

About nine pm my dad heard the horses making a ruckus outside and went to investigate. He shone the light around and saw no horses loose and then he noticed it. A faint glimmer from the lake behind the barn. He walked closer. The narrow beam of the flashlight illuminated an empty space where the truck should have stood. With a sigh he turned the light towards the double gates by the barn, as he feared they were standing wide open from the force of a two ton pick-up truck rolling backwards down a slight incline. He walked through the gates, sure now that he knew what the glimmer was in the lake. The silver of the hood was just barely visible through the murky water. The headlights shone through the liquid like blurry mirrors reflecting the fiery anger back at him that I am sure he must have felt in that moment. In the distance an owl hooted. Without a word he returned to my mother in the house.

“That’s something you don’t see every day.” He said with characteristic aplomb.
“What was it?” She asked, expecting another escapade.
“Oh, just my truck in the lake.” They stared at each other for long moments before calling me and telling me to, “Get my ass home.” Because I had to “go swimming.”

Yes, they made me swim out and hook a chain to the truck so that we could pull it out with the tractor. And that is how I learned what a lee spring is. Mom stood on the bank cracking jokes about my failed attempt at a drive through carwash, as I freaked out about shorting wires and being in a LAKE. To occupy my time I took stock of the mushy surroundings and noticed that the parking brake was no longer set. The owl hooted again, and over the sound of the tractor I still swear I heard my former friend's laughter.

This hangs over my dad's desk. Talk about a sense of humor.

And after that the truck still ran. I can honestly say that you can’t drown a F250. There you go Ford. You are built tough, and clearly you are the only brand that can stand up to my abuse. Now you just need to start making some downspouts…

Tuesday, March 12, 2013

DIY Newspaper Pots (otherwise known as Cat Bait)

Damn, I’m cheap, and I want to start some seedlings for my garden. What to do, what to do?
I should get one of those newspaper pot roller things. They’re great. I’m reusing old newspaper and I don’t have to transplant them. Plus all those damn plastic trays I bought last year didn’t hold up to the cat and dog laying on top of them, so I’m gonna have to do something for that anyway.

That thought process led me to getting an awesome little tool and losing about three hours of my life to making paper pots.

If you have read the rest of this blog you're going to know that I am not that big on measuring things, so it should come as no surprise when I tell you that I had no ruler and no idea of how long 3.5" actually was. So the first thing I did was cut my newspapers into fourths.


Okay, I lied. The first thing I did was wrestle the newspaper away from my cat and manage to miraculously not cut his feet off while I was trying to cut my newspaper. Such. A. Bad. Kitty. Seriously, if cats could take Adderall he would be on it.

Anyway, my lovely method of measuring yielded newspaper that was way too wide. Go figure. So rather than cutting it again I took the lazy way out and folded it. Wanna see how the cool little pot maker thing works? Yes? Awesome. Because I made you a montage. I hope you like it.


Quick! Go play Eye of the Tiger while you look at it!

Pretty sweet, yeah? I thought so too until I had to fill this. This being a big clear plastic tub that I had to buy and drill air holes in to protect all of my newly made pots, because someone, not going to mention any names *cough*MyGodDamnCats*cough, cough* decided to destroy all of them last time. Lets see them crush and shred them now! Yeah!


You might need to put it on loop for effect. That is three hours of Survivor right there.


DIY Disaster, well it is a dog house made out of pallets!

I was inspired by all of the cool things that people have done with pallets lately. http://howdoitcom.tumblr.com/post/43161225742/more-pallet-ideas The projects look amazing, and pretty simple, right? I am very interested in repurposing because: 1. It is cool, and 2. I’m cheap. Dog houses retail for about $150.00 a piece at the local feed store, and though I love my dog, I did not want to spend that much when I knew I could build one. How hard could it be, right? If only I had known. This isn't an exact tutorial, because if I had it to do over again I would do things a little differently. Think of it more as an inspirational piece! Anyway, not knowing what I didn't know, I decided to get crafty.

I have taken three things away from this experience. Saws-alls are not as easy to use as I thought. I am capable of using power tools, sorta. Most importantly, always pre-drill your holes! Dear Lord in Heaven pre drill your holes. It sounds like a stupid extra step, but it isn't. Across the path of least resistance danger lies in giant wooden chasms!

Hyperbole aside, I am lucky enough to have free access to small shipping crates with collapsible sides at work. For this project I used one crate bottom, two sides, two pieces of scrap lumber, one 1x4 board, and one salvaged crate lid cut to size. I also used a band saw, a miter saw, saws-all, a drill, sand paper, hammer, and 1 ¼” screws. Oh, and all my PPE. Gotta be safe!


I started out by setting the sides on the crate. I haphazardly decided on a door size and cut my scrap lumber to even lengths before screwing it onto the crate and learning the importance of pre-drilling holes. Without planning on it one end of my scrap wood fit perfectly into the space I had made with a few taps of a hammer, so I screwed that on too. Then I tried to cut out a nice rectangle using a saws-all. It didn’t work so well. I then absently wondered if they made bondo for wood, but went along anyway. It might not be pretty, but it was my creation damnit!

I was not very good at taking pictures of this one. Sorry guys, but do make sure to note the splitting wood and my freaking awesome saws-all job! That's ergonomic, or aesthetically pleasing, or something?!? Maybe?

I used my awesome measuring skills, ie holding it up and marking it with a pencil to determine the length I needed (but you could use a measuring tape) for the roofline which I cut in two sections, one piece being the length across the front and one the length of the sides. I then attached my front board to the poor, splintering frame I had made for the door and proceeded to draw a diagonal line across the side board so that when I cut it I would have two identical pieces.


Which I pre-drilled (see, learning!) and screwed to the front board. I chopped a scrap piece of wood in half and screwed the back ends of my diagonal pieces down for stability. I then grabbed a lid and screwed it on top of my angled boards. I then tried to sand down the doorway so Susan wouldn’t get splinters. It needs a few coats of waterproof paint, but Susan loves it. That’s the main thing.


Monday, March 11, 2013

I see your deer, and I raise them one albino doe.


Yeah. Albino deer by my driveway. You'll have that. :)

And people wonder why I love living in the middle of nowhere?

Wednesday, February 27, 2013

DIY Artisan Bread, with pictures!

Homemade bread is intimidating. I grew up on Bunny and Wonder, but fell in love with fresh baked bread courtesy of Panera while I was in college. One of my friends bought me The Joy of Cooking, and after staring longingly at the loaves (a 45 minute drive away from my house) and begrudgingly at the cookbook for about two years; I took the plunge into baking bread at home. I love it. I won’t ever go back.

Not only is making bread at home rewarding, it is also cheap. The recipe I am going to share only costs about .55 a loaf in dry ingredients. You can’t beat that!

Now, I am not a professional baker by any means. I’m still trying out new recipes at every turn, but I have tried about ten different recipes for everything from whole grain sandwich bread to nice Artisan bread like what I love at Panera. It has been one heck of a journey. Something about reading a recipe that says “knead until elastic” and trying to replicate it with no experience whatsoever was a bit, “challenging” (feel free to read that as curse inducing). Honestly, what is the baking definition of elastic? Knead thoroughly, but do not overwork, too much kneading will result in poor texture! There aren’t even any pictures to show what is elastic, or shiny, or whatever other baking jargon they have that I had no clue what it meant as a virgin baker. Agh! Talk about feeling overwhelmed.

That’s why I love this recipe, courtesy of Mother Earth Living. It gives a perfect loaf of bakery quality Artisan style bread every time, and there is no kneading! Let me tell you. This stuff is too good to be true. The baking gods will smile upon you and you too will fall in love with homemade bread!

Time commitment: Working time 10 minutes, Raising time 12-24 hours, Working time 10 minutes, Raising time 2-4 hours, Preheating time 20 minutes, Baking time 30-45 minutes

The ingredients are so straight forward that I have them memorized at this point.
¼ tsp yeast
1 ½ tsp salt
1 ½ c warm water
3 c flour, plus more for dusting your working surface and hands
You’ll also need cling wrap, kitchen towels, an oven, and a Dutch oven.


Dissolve your yeast in the warm water, this normally takes about five minutes for me. I stir the water after the yeast dissolves to mix everything up. It isn’t crucial, but it gives me peace of mind.


Add the salt and flour and stir with a non metal utensil until combined. This stuff is sticky, and yields a very moist, shaggy dough.


Cover it with cling wrap. I find that a rubber band can help keep the wrap on, which is important because this dough is going to sit for a loooong time. The recipe calls for 12-18 hours. I have left it raise for 24+ without problems.

The dough will rise to fill the bowl. The bubbles show that it is ready.
After the dough has risen flip it out onto a well floured surface, and make sure to dust your hands! Flip it over itself twice and shape it into a ball. Lay it on a well floured towel and cover with yet another floured towel (or floured, inverted bowl) to raise again 2-4 hours. I use the towel if I am home and will be able to work with the bread after two hours of raising, but if I have to leave it longer than two hours (I have done up to four) I use a bowl to better retain moisture.


So, you’re ready to bake? Pull out your Dutch oven and shove that baby in the oven while it is preheating to 475 degrees. The Dutch over retains moisture while you’re baking that replicates the steam injections that professional bakers use. After about twenty minutes pull out the Dutch oven and turn the bread into it. It will fall a bit, but that is okay. The baking process will even it out. Cover it and bake for thirty minutes. Uncover and cool, or let brown for an additional 10-15 minutes as you prefer.


It's a baking montage!
Make sure to let it cool for at about an hour before slicing, because the center is still baking and you don’t want to let the heat and moisture out. It will be tempting to take a nibble, but resist! I have tried both ways and waiting is worth it. After the bread cools, enjoy! This stuff is so great it doesn’t even need butter. Not that I am discouraging butter, but I can say that my test kitchen (co-workers) ate half a loaf completely plain, and that NEVER happens.


PS: If you want to check out the original recipe on Mother Earth Living here you go!